Click Site Access in the left-hand pane.
The Site Access screen opens in the main workspace:
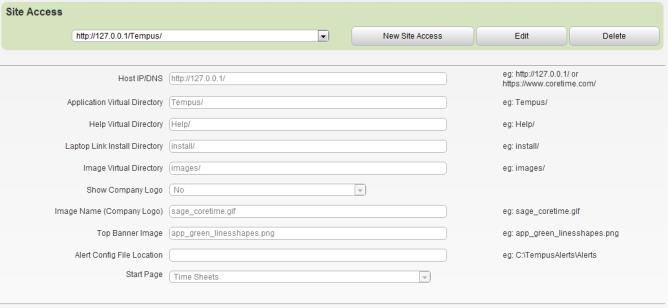
Complete the fields in the screen as follows:
| Item | Description |
|---|---|
| Host IP/DNS |
The IP address or hostname of the Coretime server. The default setting is |
| Application Virtual Directory | Normally this directory is Tempus/. |
| Help Virtual Directory | Normally this directory is Help/. |
| Laptop Link Install Directory |
Normally this directory is |
| Image Virtual Directory | Normally this directory is Images/. |
| Show Company Logo | If you want your company logo to be displayed at the top of the Coretime scree, select Yes. |
| Image Name (Company Logo) |
The name of the image to be displayed at the top of the screen. By default, this is sage_coretime.gif, which is located in the image virtual directory. If you want to specify a different image, add to the image virtual directory, and then specify its name in this field. |
| Top Banner Image | If you want to change the top banner image in the Coretime screen, add the banner image to the image virtual directory, and specify its name in this field. |
| Alert Config File Location | This field can be left blank. |
| Start Page | This drop-down list enables you to select which Coretime page opens when you log into Coretime. |