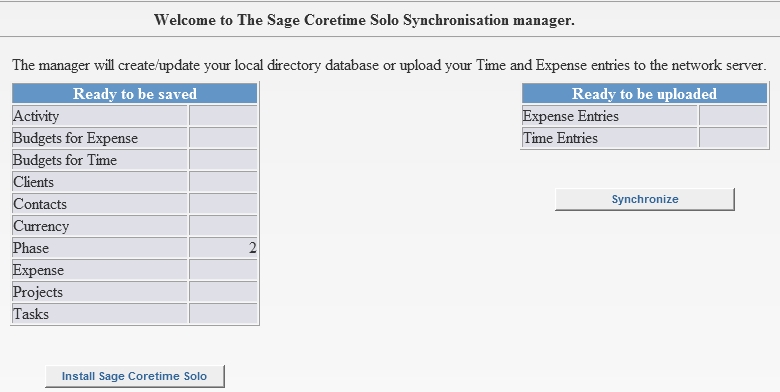
Click Solo Merge in the Time Entry screen.

Click Install Coretime Solo, and download the tmpMobSetup.exe installation file.

Now that you have enabled offline entry in your Sage Coretime system, you are ready to install Coretime Solo locally onto each laptop which you intend to use for offline time and expense entry.
Click Solo Merge in the Time Entry screen.

Click Install Coretime Solo, and download the tmpMobSetup.exe installation file.

You have installed Coretime Solo.
You can now begin using Coretime Solo.